Import APIs
To find out what the state of security in your APIs is, import them to 42Crunch Platform.
- The file size of your API should not exceed 10 MB.
- The OpenAPI Specification (OAS) v2, v3.0, and v3.1 are supported. The API definition must be in JSON or YAML format (
.json,.yaml, or.yml).If you import OpenAPI definitions in YAML format to the platform, they are automatically converted and stored in JSON format. However, you can continue to view, edit, and download them in YAML format.
- GraphQL schema definition files (
.graphql,.graphqls,.gql,.gqls,.sdl) are supported. GraphQL introspection files are not supported. - GraphQL data definition files and supergraphs for GraphQL federation are supported.
Support for GraphQL is not enabled by default, but is available as a separate subscription.
Import OpenAPI definitions
- In 42Crunch Platform, click Import API.
- Click Browse, and locate the API definition you want to upload to the platform.
By default, API definitions are imported as is. If you want, you can choose to preformat an OpenAPI definition by running it through a JSON parser as part of the import process. This can help to fix issues like incorrect whitespace or integers expressed as decimals with zero fractions (for example,
42.0) during the import itself. - If you want, change the API name. By default, the file name of the selected file is used.
- Select the collection where to import the API, or enter a name for a new API collection and create it.
- Click Import API.
The API is imported into the API collection you specified and it gets an API UUID that is used to identify it on the platform.
If you import OpenAPI definitions in YAML format to the platform, they are automatically converted and stored in JSON format. However, you can continue to view, edit, and download them in YAML format.
To switch between JSON and YAML formats, see Convert APIs.
During the import, API Security Audit automatically checks that the API definition is a valid OpenAPI definition and provides a score that reflects the quality of the API. For more details on Security Audit, see API Security Audit.
You can also import APIs directly from your CI/CD pipeline so that any APIs in your project are automatically added to 42Crunch Platform as well. For more details, see CI/CD integration.
Import GraphQL files
You can import three kinds of GraphQL files to 42Crunch Platform: schema definition files, data definition files, and GraphQL federation files (supergraphs).
- In 42Crunch Platform, click Import API.
- Click Browse, and locate the GraphQL file you want to upload to the platform. By default, the file name of the selected file is used as the name for the imported API, but you can change it if you want.
- In API type, select what kind of GraphQL file you are importing:
- If you are importing a schema definition file (a full GraphQL API), select GraphQL schema definition.
- If you are importing a data definition file (an API "fragment"), select GraphQL data definition.
- If you are importing a federation supergraph, select GraphQL supergraph.
The selected API type is compared against the contents of the file you selected. If your file seems to be of a different type than what you selected, the import fails. This is to avoid any problems later when using the platform features with the API.
- If you are importing a subgraph of a GraphQL federation, enter the URL that the associated supergraph uses to reference this file in Federation URL. Otherwise the file cannot be connected with the correct federation and is deemed to be missing.
- Select the collection where to import the API, or enter a name for a new API collection and create it.
- Click Import API.
The API is imported into the API collection you specified and it gets an API UUID that is used to identify it on the platform.
During the import, API Security Audit automatically checks that the API definition is a valid GraphQL API definition. For more details on Security Audit, see API Security Audit.
If you import a supergraph before all the associated subgraphs have been imported into the same API collection, the supergraph is imported successfully, but the audit fails if any subgraphs are missing.
If you forgot to enter the federation URL when importing a GraphQL subgraph, there is a mistake in the URL, or it has changed, you can edit it. Simply find the subgraph you want, and click > Update federation URL.
View APIs
API definitions in 42Crunch Platform are organized into API collections. API collections group your APIs into meaningful units that are easier to manage than trying to keep track of individual APIs.
-
Click Find API. You can see a list of all API definitions available to you in 42Crunch Platform as well as the API collections they are in.
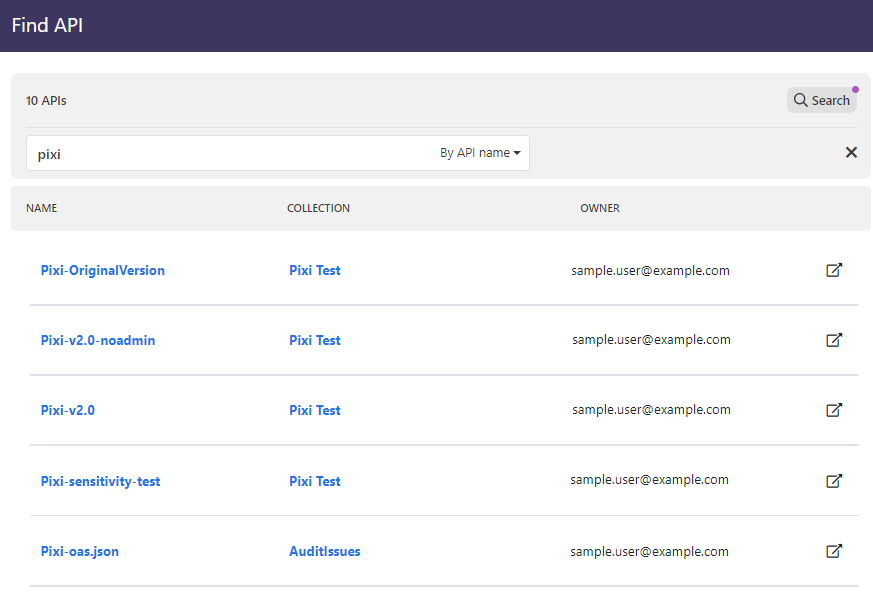
If there are plenty of APIs, use the search bar at the top to filter the API list. You can pick from several different search criteria, such as API name or UUID, applied tags, or the owner of the API.
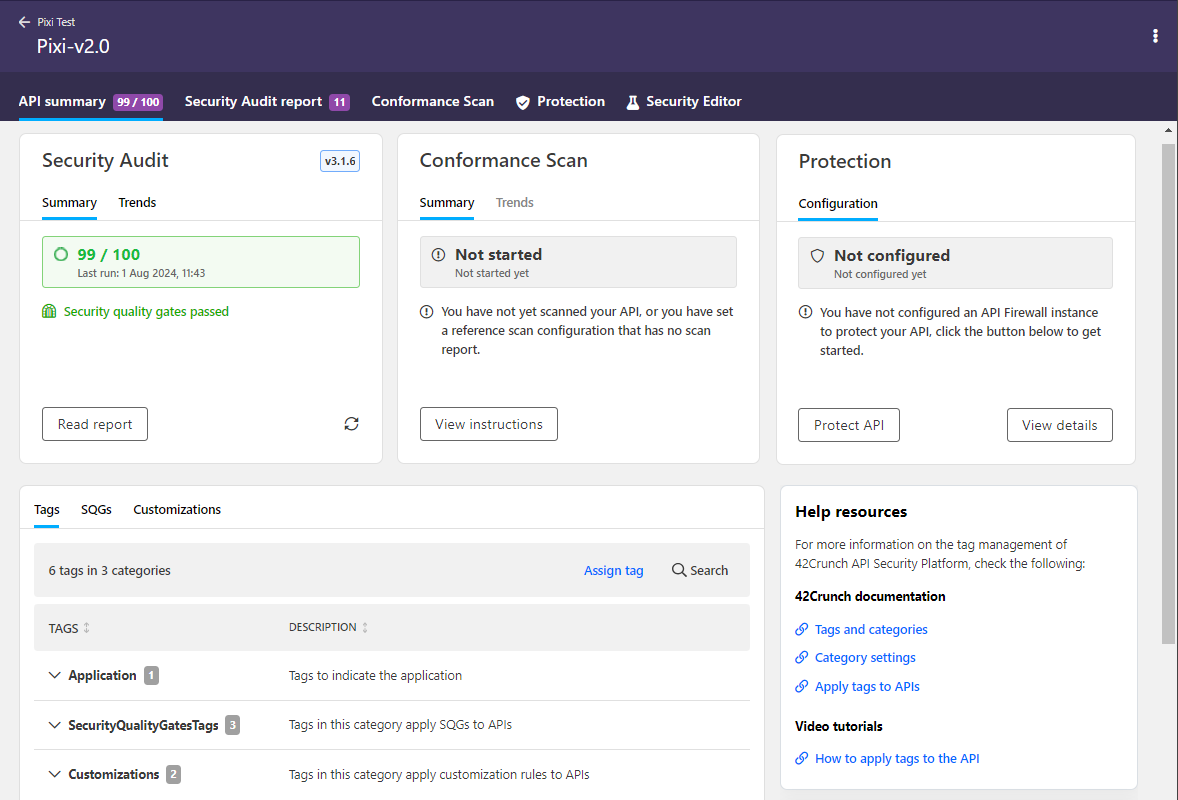
- Click an API to view its details and an overview of its status on the API Summary page. If you want to view the collection an API is in, click the collection name.
- To view the OpenAPI definition of the API, go to the Security Editor tab.
You can also find APIs by navigating to an API collection, and again use the search bar at the top of the page to filter the API list in a collection. If you have a direct link (including the UUID) to an API in the platform, you can use that as well.
Share APIs
Like viewing APIs, sharing them with other users in your organization is also done through API collections.
You cannot share API collections if your organization administrator has not given you permission for this function. For more details on user permissions, see Permissions.
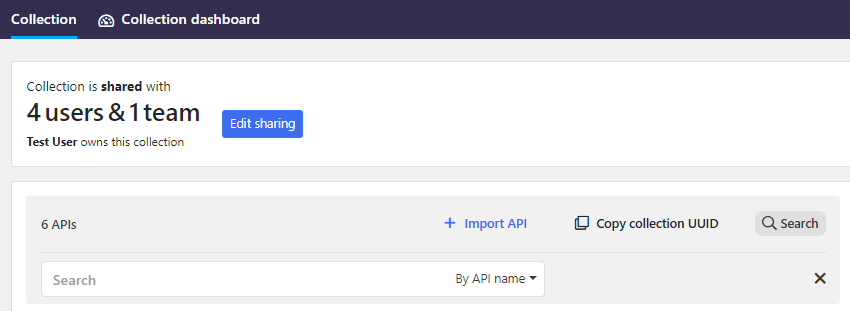
- Go to the API collection you want to share.
- Click Share API collection.
- Start typing the user or team name in the search, and select the ones you want to share the collection with.
- Select the access level that the selected users or teams will have on the API collection, and click Add. You can also edit the access levels later in the sharing list.
- If you want to give a user in a team different access level than the rest of the team, search and add that user again, this time granting them the access level you want. The user is now marked to have different access level
than the rest of the team.
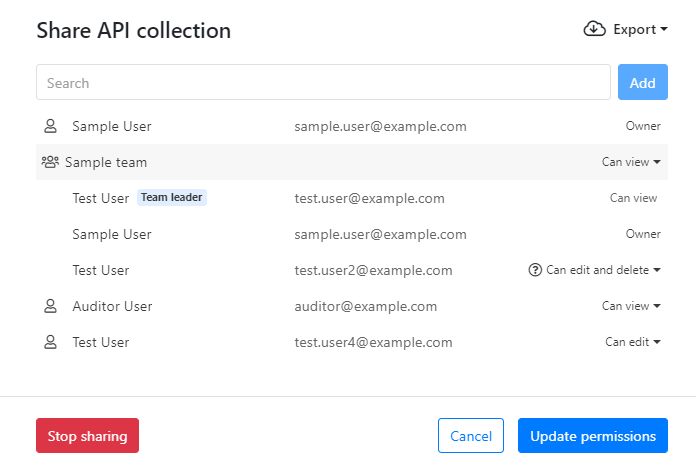
Organization administrators and auditors can also export the list of users that an API collection and its APIs are shared with and the access levels that these users have.
- When ready, click Update permissions.
Your API collection has now been shared with the teams or user you selected and they can now access it as you defined. To share the collection with more teams or users, change the access level, or make your collection private again, click Edit sharing.
For more details on the different access levels and what other users can or cannot do, see Sharing APIs and access level.
Convert APIs
Although under the hood 42Crunch Platform stores all OpenAPI definitions in JSON format for compatibility, you can switch between the JSON and YAML format on the UI as needed. The conversion does not affect the stored API definition file.
The conversion in the platform does not support YAML-specific features, such as comments, variables, aliases, and anchors. These features might be flattened or lost when converting the API definition from YAML to JSON, and they are not included in the file that the platform stores.
- Find the API you want, and click .
- Depending on the current format of the API definition, click either Convert to YAML or Convert to JSON.
During the conversion, YAML is always reformatted, so you might see some differences in the API definition, such as empty lines deleted.
If you need to provide the API definition from the platform elsewhere, you can download it in its current format. For more details, see Download fixed API definitions.
Rename APIs
If you need to change the name of an API definition you have already imported to 42Crunch Platform, you can rename it without having to reimport it.
- Find the API you want.
- Click > Rename API.
- Type in the new name, and click Rename.
Define a naming convention for APIs
Organization administrators can specify a regular expression that all APIs imported in the organization must follow. The naming convention is applied in addition to the pattern already imposed by 42Crunch Platform.
If you have integrated API Security Audit to your CI/CD pipeline with the integration plugin, pay attention that you do not define a naming convention that conflicts with the one that the plugin uses, especially if you have changed the default collection name. This could prevent the integration plugin from working properly, which could disrupt your CI/CD.
- Click next to your username, and click System preferences.
- Under Naming conventions, go to API.
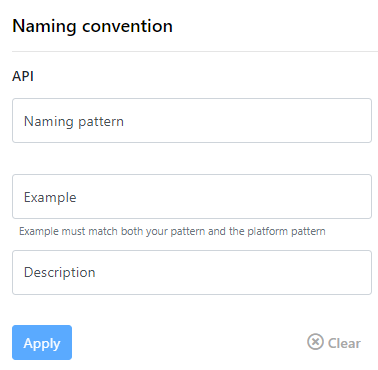
- Define the regular expression for the pattern you want to use, and add an example of how the suitable name could look. If you want, you can also add a further description on the pattern.
You can also provide a description for the naming convention on a web page outside 42Crunch Platform. In this case, simply include the URL where users can find more information in the description field; users can follow the link to learn more if the name they entered goes against the set convention.
- When ready, click Apply.
The naming convention is enforced all new API definitions created in your organization, and if existing APIs are renamed.
For more information on regular expressions, see the following:
- Language-agnostic information on regular expressions at Base Definitions page on regular expressions
- OWASP Validation Regex Repository
- RegExr, an online tool for building and testing regular expressions
Delete APIs
If the API definition you imported turns not to be valid, you can delete it to remove from 42Crunch Platform.
Deleting an API permanently removes it from 42Crunch Platform. This action cannot be undone.
- Go to the API you want to delete.
- Click > Delete API.
You can also edit the API definition to make it valid. For more details, see Fix APIs.
If you want to delete more than one API in a collection, you can select the APIs you want and click Delete above the API list. You can also delete APIs in the Find API results.